Zombicide Invader: Dark Side - Survivors
Having taken a break from Zombicide to paint some Norse deities and a TIE fighter it was time to jump back into the fire. I have plans to completely finish Zombicide Invader this year so I had better actually do some painting. So I opened up the Dark Side box and gathered up the Survivors, who in this case are all Soldiers.
As all of them are wearing powered armour, I figured I could use the opportunity to test out some methods for getting Space Marines painted quicker. Namely, rather than edge highlighting all the armour I wanted to test out sponge chipping as a method of adding contrast to the armour. I’d used sponge chipping as a weathering method previously so I was keen to give this a test.
Common details
As they are a cohesive team, most of the details on the models are the same for all of them. So for the most part I could batch paint them to near completion and then pick out their individual details later.
To start with in mind, I glued some slate rocks to the bases and primed them all with Colour Forge Standard Grey. For the armour I decided to use Vallejo Russian Uniform, it’s a fairly drab green that works well with the military feel of the team. What didn’t work well was trying to airbrush Russian Uniform. Some paints just don’t want to play ball with an airbrush and Russian Uniform is certainly one of them.
With that torturous endeavour out of the way I moved onto shading the armour. I did this by, effectively, giving each model a reverse-zenithal with Ammo Grime Shader. The Ammo Shaders are very thin paints that are typically used to add shadows to models, I have used them in my Bandai Star Wars builds. For the Zombicide models it was a simple case of holding each model upside down and using the airbrush at a forty-five degree angle to build up the shadow. With the shadows done I next moved onto highlighting the armour and testing the sponge chipping method. First I needed a highlight colour, which I achieved by mixing Russian Uniform and Pale Sand in equal parts. I took a small piece of sponge and dipped it in the paint mix, then I dabbed off most of the paint on a paper towel, finally I dabbed the sponge around the edges of the armour to create the chipping effect. The effect wasn’t quite as pronounced as I had hoped but it was miles easier than edge highlighting. I finished off the armour by recess shading with Army Painter Strong Tone.
With the armour done I moved onto the remaining common details. I painted the weapons and the joints between the armour with Black Templar contrast paint. Any pouches I then painted with Gore-Grunta Fur. I was a little worried about using a transparent paint over a green undercoat but it turned out fine. Lastly, any cabling and pipes I painted with Scale75 Thrash Metal that I then washed with Army Painter Dark Tone.
And with that, the models were about ninety percent done. I now just needed to do the individual details. Admittedly, a lot of these are just a different coloured knee pad and skin tone.
Miranda Boone

I painted their head with a couple of thin coats of Ungor Flesh that I then gave a coat of Guilliman Flesh. For the hair I first base coated it with Corvus Black before giving it a wash with Army Painter Dark Tone. Lastly, I painted an armour plate on their knee and shoulder with Macragge Blue.
Radka Srisati

I painted Radka’s head the same way that I did with Miranda. Once again highlighting that I really really need to get some more skin tone paints. Miranda is from New Zealand and Radka from Thailand, no way I should be using the same paint for both.
Anyway, I painted one of their knee and shoulder pads with Jokaero Orange.
Miles Siqueira

For Miles I painted their face with Cadian Fleshtone that I then washed with Guilliman Flesh. I then painted their hair, including Tony Stark-esque facial hair with Corvus Black that I then gave a wash of Army Painter Dark Tone.
For their squad markings I painted one of their shoulder and knee pads with Vallejo Heavy Goldbrown.
Kaav Umkos

For their alien skin I started with a basecoat of Two Thin Coats Dungeon Stone that I then gave a wash of Basilicanum Grey. For the squad markings, I painted a shoulder and a knee pad with Corvus Black.
Inco “Drake” Drache
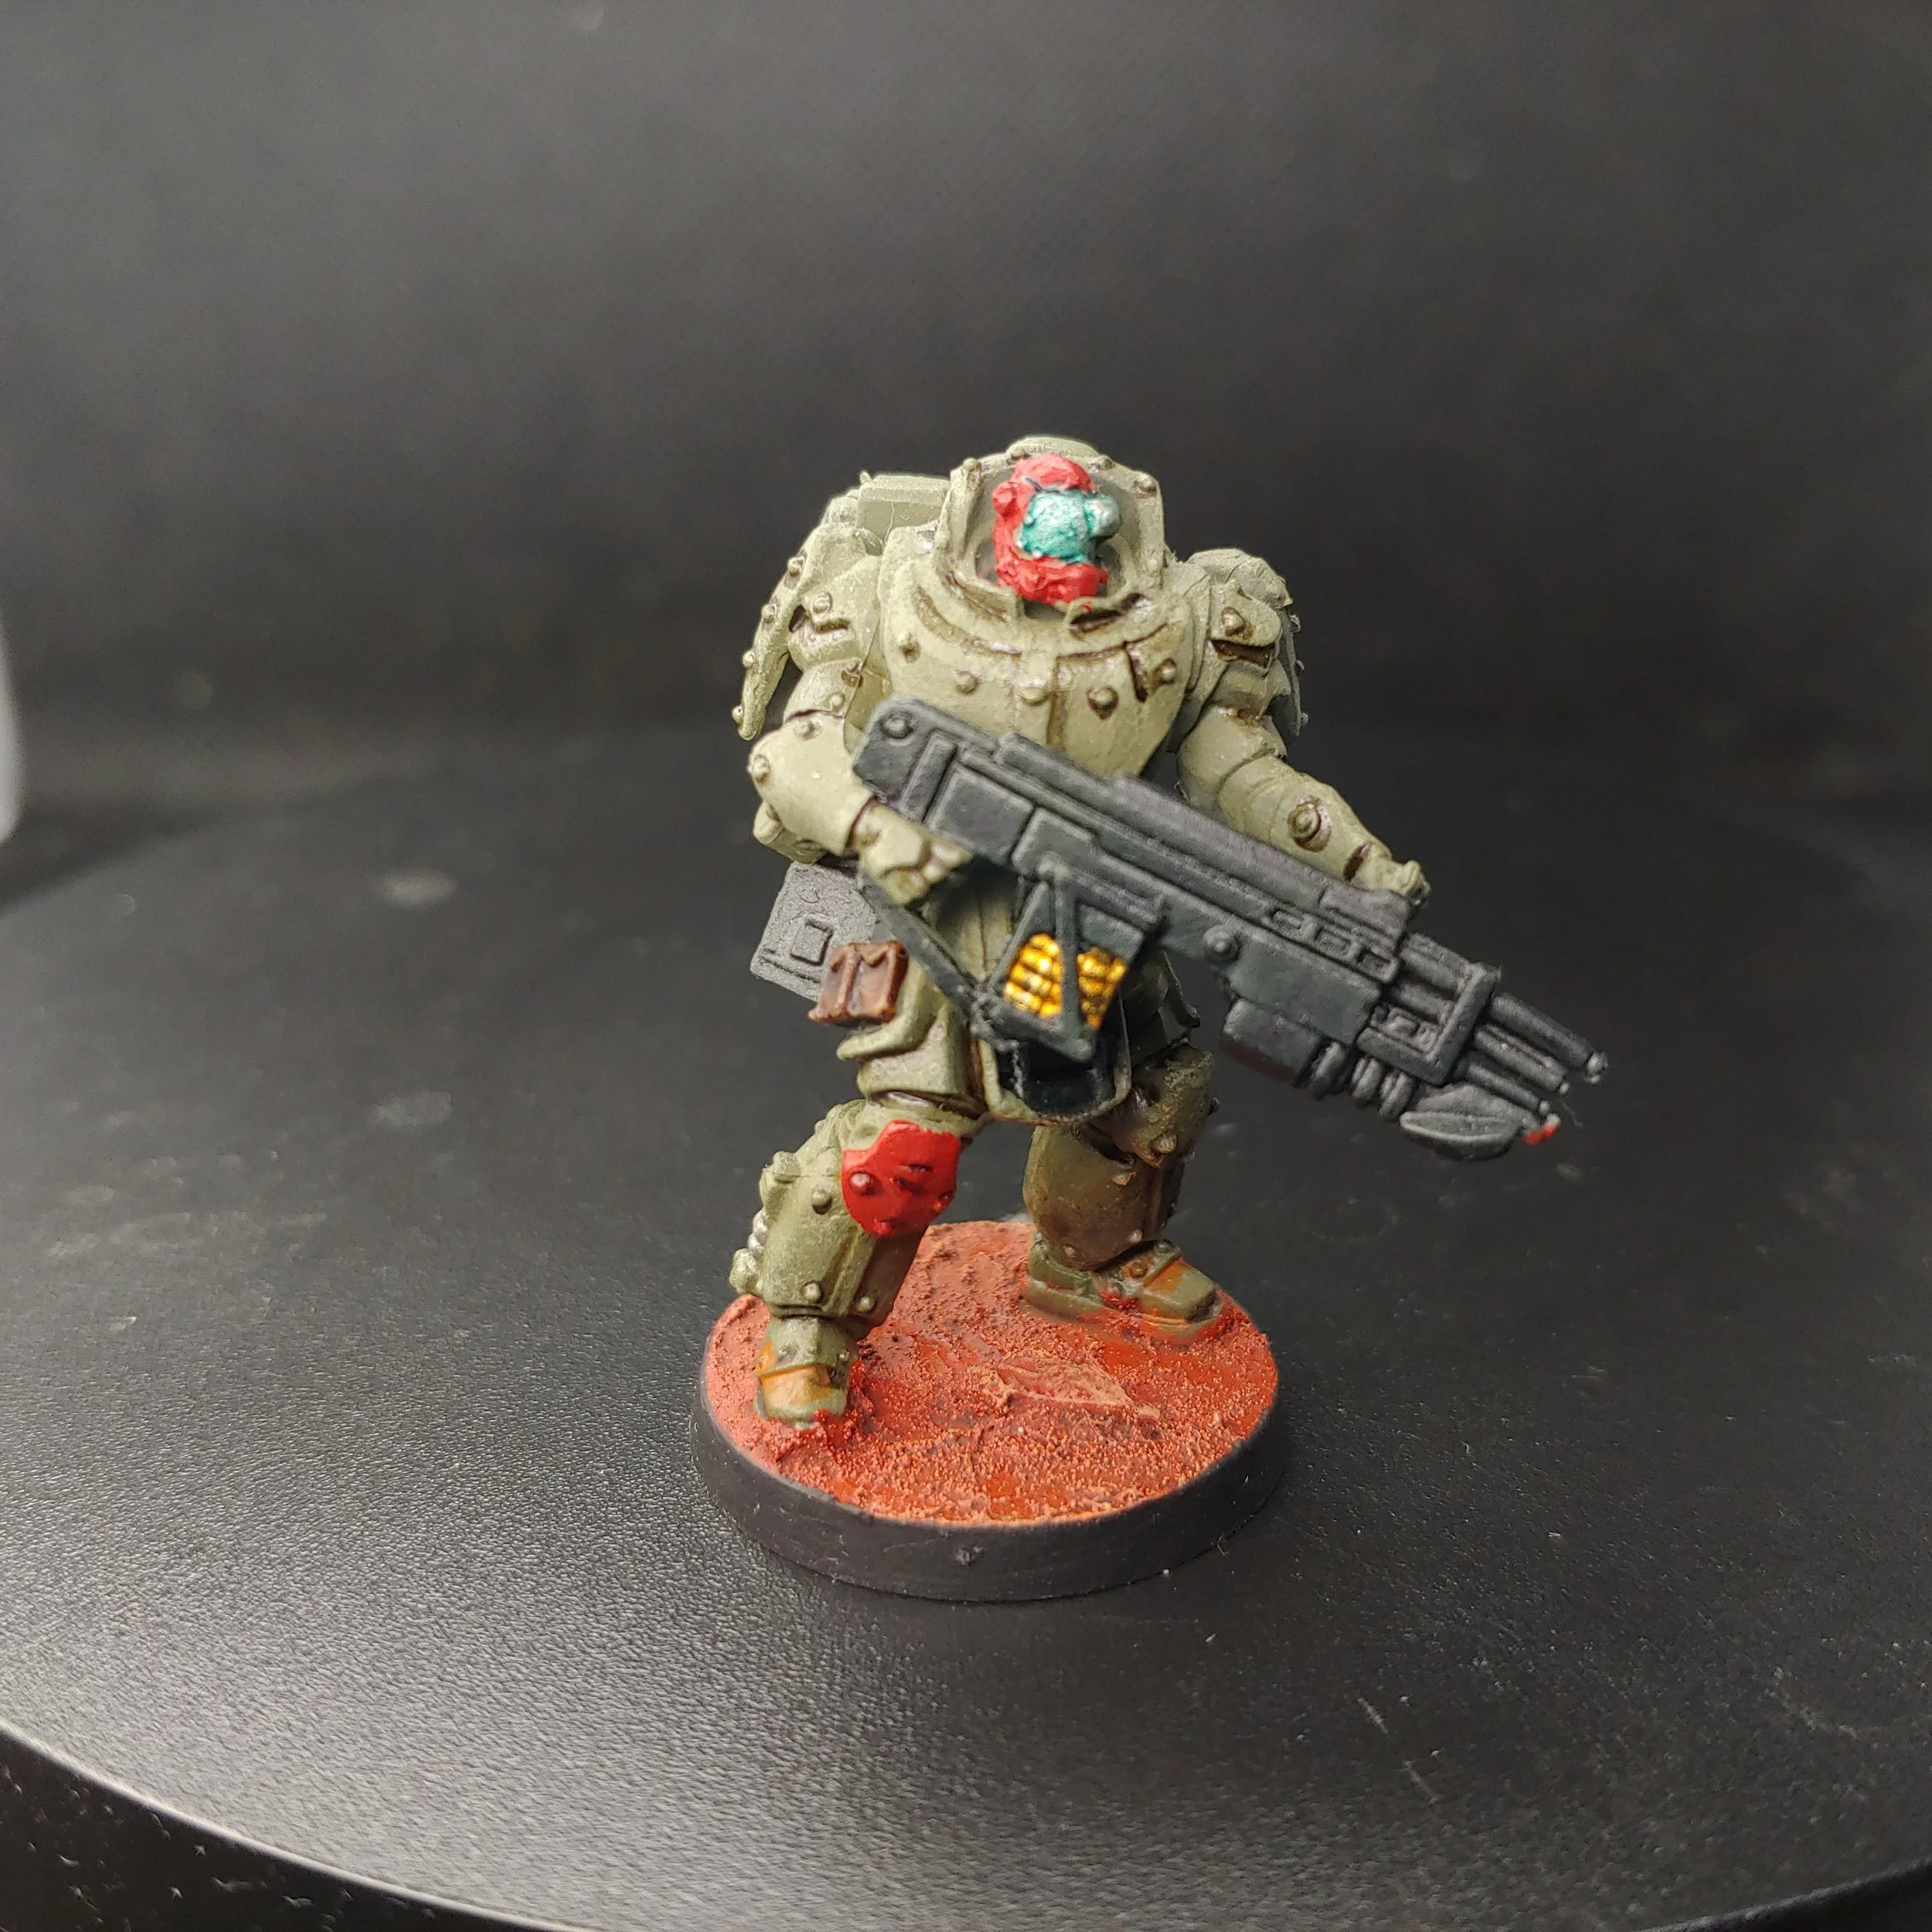
Up until this point, I should have been painting everyone’s helmet in their respective squad colours but I haven’t as I’m a lazy boy. However, as Drake is wearing their helmet I felt I probably should paint it on this occasion. With that in mind, I painted their helmet, shoulder and pad with Mephiston Red. I then painted the visor of the helmet with Scale75 Thrash Metal before giving a coat of Army Painter Speedpaint Sea Green. Lastly, I painted the shells visible in the ammo hopper with Scale75 Dwarven Gold.
Victoria Reese

For the final squad member, I started by basecoating their skin with Cadian Fleshtone before giving it a wash with Guilliman Flesh. Their hair I painted with Vallejo Khaki that was then washed with Army Painter Strong Tone. Finally, for their squad markings I painted their shoulder and knee pad with Fenrisian Grey.
Vindicator Bot and Maul Sentry Gun

The bots I kept extremely simple; starting from a black prime I used the airbrush to block in the metallics with Vallejo Metal Colours Magnesium. From there I painted the armour plates with Vallejo Russian Uniform before chipping and recess shading them in the same way that I had for the other squad members. I then painted the tracks on the Vindicator Bot with Corvus Black before lastly picking out any lenses with Mephiston Red.
Bases

For the bases I started by basecoating the rocks with Mephiston Red, this is so that the Vallejo Fire Red that I use later applies a little easier. Next I slopped on a load of Vallejo Red Oxide texture paste, not worrying too much if I got any on the models. I then used the aforementioned Vallejo Fire Red on the rocks and any areas I missed. To bring out the texture of the base I then gave it a wash of Reikland Fleshshade before drybushing with Kindle Flame. Lastly, I heavily thinned some Troll Slayer Orange and ran it into the recesses of the boots and the treads on the Vindicator Bot to make it look like dust.
Final thoughts
For what are effectively test models, these turned out alright. The chipping didn’t turn out quite as prominent as I was hoping, so moving forward I’ll have to use a lighter chipping colour to get the contrast that I’m after.
Likewise, Troll Slayer Orange doesn’t exactly make for a great dust colour as it’s a bit too fluorescent. I’m sure there is a colour out there that I can use, I just need to find it. I may have to look into some actual pigment powders.